本篇教程的视频
本篇教程的源代码
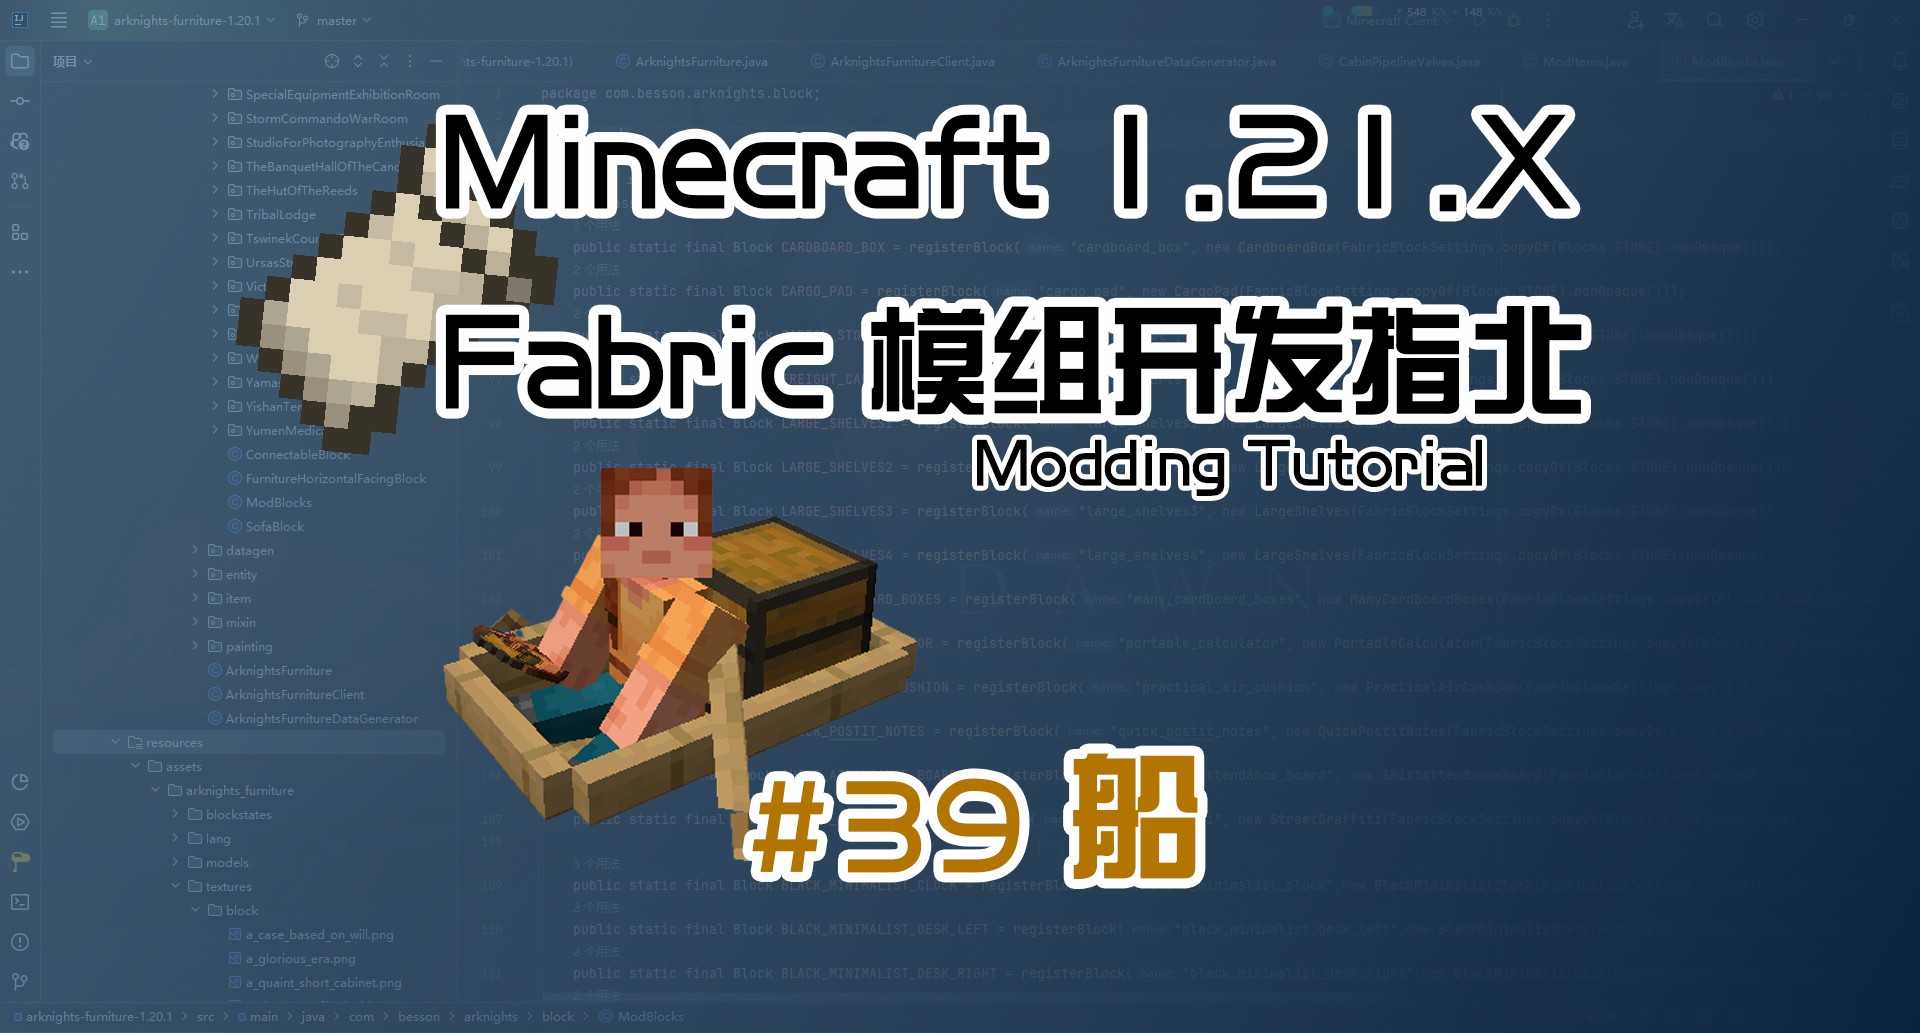
本篇教程目标
创建可坐实体
在游戏中,要想实现一个方块可以让玩家坐下,那么就得去创建一个实体,因为只有实体里面是有可坐方法的
像马、猪,还有矿车、船这种,它们都是实体
而我们的思路是,当我们右键方块与之交互时,我们就在这个方块的位置上创建一个实体,只是这个实体不能动,而且我们也看不见这个实体
另外,本期教程参考的是Mr.Crayfish的家具模组
SeatEntity
首先我们要创建一个SeatEntity类,让它继承Entity类
1
2
3
4
| public class SeatEntity extends Entity {
public SeatEntity(EntityType<?> type, World world) {
super(type, world);
}
|
另外还有3个要我们重写的方法,但我们这个实体除了让玩家可以坐下之外,就没有别的作用了,所以这里的3个方法都空着就好了
1
2
3
4
5
6
7
8
9
10
11
12
13
14
| @Override
protected void initDataTracker() {
}
@Override
protected void readCustomDataFromNbt(NbtCompound nbt) {
}
@Override
protected void writeCustomDataToNbt(NbtCompound nbt) {
}
|
tick
接下来我们要重写tick方法
1
2
3
4
5
6
7
8
9
10
| @Override
public void tick() {
super.tick();
if (!this.getWorld().isClient()) {
if (this.getPassengerList().isEmpty() || this.getWorld().isAir(this.getBlockPos())) {
this.remove(RemovalReason.DISCARDED);
this.getWorld().updateComparators(getBlockPos(), this.getWorld().getBlockState(getBlockPos()).getBlock());
}
}
}
|
这个方法我们来检测当前位置上是否有玩家,或者说方块有没有被破坏
如果是,那么就移除实体,因为实体是对游戏性能有影响的,一旦放了太多但并没有用上的实体就会导致我们游戏卡顿
我们现在只希望当玩家坐下时,这个实体存在,而脱离时这个实体就被移除了,以此来节约性能开销
getMountedHeightOffset
1
2
3
4
| @Override
public double getMountedHeightOffset() {
return 0.0;
}
|
这个是获取高度偏移,原版会根据不同生物实体的大小来改变玩家骑乘的高度,
比如说猪和马,骑的时候它们的高度当然不一样
当然我们这里就返回0.0就可以了,具体的我们要根据座椅的实际高度赋值
canStartRiding
1
2
3
4
| @Override
protected boolean canStartRiding(Entity entity) {
return true;
}
|
显然易见,这个方法就是返回玩家是否可以骑,这里返回true
createSpawnPacket
1
2
3
4
| @Override
public Packet<ClientPlayPacketListener> createSpawnPacket() {
return super.createSpawnPacket();
}
|
服务端和客户端的数据传输
updatePassengerForDismount
1
2
3
4
5
6
7
8
9
10
11
12
| @Override
public Vec3d updatePassengerForDismount(LivingEntity passenger) {
Direction direction = this.getMovementDirection();
Direction[] offsets = {direction, direction.rotateYClockwise(), direction.rotateYCounterclockwise(), direction.getOpposite()};
for (Direction offset : offsets) {
Vec3d vec3d = Dismounting.findRespawnPos(passenger.getType(), this.getWorld(), this.getBlockPos().offset(offset), false);
if (vec3d != null) {
return vec3d.add(0, 0.25, 0);
}
}
return super.updatePassengerForDismount(passenger);
}
|
这个方法是当玩家脱离座椅之后,要返回一个能够让玩家落脚的位置,防止玩家卡住
方位的话就找四个面,然后判断能不能让玩家重新生成
如果可以就再给一个Y轴上的偏移量,防止玩家卡住
create
这个方法是我们自己定义的,不是重写的
这个方法也是用来创建这个可坐实体的方法,它的返回值类型为ActionResult,至于里面的参数,根据的是方块类中的onUse方法来写的,
待会你就知道为什么了
1
2
3
4
5
6
7
8
9
10
11
12
13
| public static ActionResult create(World world, BlockPos pos, double yOffset, PlayerEntity player, Direction direction) {
if (!world.isClient()) {
List<SeatEntity> seats = world.getNonSpectatingEntities(
SeatEntity.class, new Box(pos.getX(), pos.getY(), pos.getZ(), pos.getX() + 1.0, pos.getY() + 1.0, pos.getZ() + 1.0));
if (seats.isEmpty()) {
SeatEntity seat = new SeatEntity(world, pos, yOffset, direction);
world.spawnEntity(seat);
player.startRiding(seat, false);
}
}
return ActionResult.SUCCESS;
}
|
首先我们要判断是否是服务端,同样的,逻辑处理在服务端完成
List<SeatEntity> seats用于获取SeatEntity实体列表,这个获取范围也就只有一个方块的范围
如果这个列表是空的,那么就创建一个SeatEntity实体,然后调用world.spawnEntity(seat)方法来生成
最后调用player.startRiding(seat, false)方法让玩家骑上这个实体
另外,这里实例化的SeatEntity不是原来的构造方法,我们得重新写一个
1
2
3
4
5
| private SeatEntity(World world, BlockPos pos, double yOffset, Direction direction) {
this(ModEntities.SEAT, world);
this.setPosition(pos.getX() + 0.5 , pos.getY() + yOffset, pos.getZ() + 0.5);
this.setRotation(direction.asRotation(), 0.0F);
}
|
这里的ModEntities.SEAT是待会要注册的实体
这里设置它的位置,因为我们要让这个实体在方块的正中央,所以得加上0.5
Y轴偏移量根据实际传入的大小来决定
addPassenger
1
2
3
4
5
| @Override
protected void addPassenger(Entity passenger) {
super.addPassenger(passenger);
passenger.setYaw(this.getYaw());
}
|
这个方法是在玩家骑上实体时调用,同时我们这里还要重新设置玩家朝向
updatePassengerPosition
1
2
3
4
5
| @Override
protected void updatePassengerPosition(Entity passenger, PositionUpdater positionUpdater) {
super.updatePassengerPosition(passenger, positionUpdater);
this.clampYaw(passenger);
}
|
这个方法用于更新玩家位置,clampYaw是我们自定义的方法,用于限制玩家的朝向
clampYaw
1
2
3
4
5
6
7
8
| private void clampYaw(Entity passenger) {
passenger.setBodyYaw(this.getYaw());
float wrappedYaw = MathHelper.wrapDegrees(passenger.getYaw() - this.getYaw());
float clampYaw = MathHelper.clamp(wrappedYaw, -120.0F, 120.0F);
passenger.prevYaw += clampYaw - wrappedYaw;
passenger.setYaw(passenger.getYaw() + clampYaw - wrappedYaw);
passenger.setHeadYaw(passenger.getYaw());
}
|
这里我们限制玩家头的转动范围,因为正常来说,在你不转身的情况下,我们的头是不可能360°转动的,得限制一下
这个限制呢就是一些计算公式,这里就不解释了
实体渲染器类
记住一件事,不论是生物实体、方块实体还是纯粹的实体,都需要写它们的渲染器类
因为你要告诉程序,这个实体该如何渲染,是一般的呢还是特殊的
SeatRenderer
这里我们创建一个SeatRenderer类,继承自EntityRenderer
1
2
3
4
5
6
7
8
9
10
11
12
13
14
15
| public class SeatEntityRenderer extends EntityRenderer<SeatEntity> {
public SeatEntityRenderer(EntityRendererFactory.Context ctx) {
super(ctx);
}
@Override
public Identifier getTexture(SeatEntity entity) {
return null;
}
@Override
protected void renderLabelIfPresent(SeatEntity entity, Text text, MatrixStack matrices, VertexConsumerProvider vertexConsumers, int light) {
}
}
|
getTexture方法用于获取实体的贴图,这里我们返回null,因为我们没有贴图
同时我们再重写renderLabelIfPresent方法,这个方法用于渲染实体的标签,我们这里也不需要,所以直接空着
这个实体呢就像一个幽灵一样,你看不见它,但它就在那里,我们可以依靠这个实体来实现可坐
注册实体
ModEntities
接下来我们创建ModEntities,用来注册实体
1
2
3
4
5
6
7
8
9
| public class ModEntities {
public static final EntityType<SeatEntity> SEAT = Registry.register(Registries.ENTITY_TYPE,
new Identifier(TutorialMod.MOD_ID, "seat"),
FabricEntityTypeBuilder.create(SpawnGroup.MISC, SeatEntity::new).build());
public static void registerEntities() {
}
}
|
实体的注册我们直接用Fabric提供的FabricEntityTypeBuilder来写就好了
其实注册语句的整体结构和我们注册方块、物品等,都是一样的,都是Registry.register
另外还有一个registerEntities这个用于初始化的方法
不要忘记主类调用
1
| ModEntities.registerEntities();
|
渲染器类注册
写好渲染器和注册好方块实体之后,我们还要到客户端类中注册这个实体渲染器
1
| EntityRendererRegistry.register(ModEntities.SEAT, SeatEntityRenderer::new);
|
在onInitializeClient中写上上面那段话即可
可坐实体创建
那么最后就是要创建这个可坐实体了
我们到之前写的SofaBlock中,重写onUse方法
1
2
3
4
5
6
7
| @Override
public ActionResult onUse(BlockState state, World world, BlockPos pos, PlayerEntity player, Hand hand, BlockHitResult hit) {
if (!world.isClient()) {
return SeatEntity.create(world, pos, 0.25, player, state.get(FACING));
}
return ActionResult.SUCCESS;
}
|
onUse方法是玩家右键这个方块时调用,它的返回值是ActionResult,所以我们写的create方法也是用的ActionResult
这里面的0.25,就是给的Y偏移量,这个值你可以自己调整
测试
那么最后我们就可以进入游戏进行测试了